5 October 2026
AI Video for Motion Designers: Runway and Kling
How to integrate Runway Gen-3 and Kling AI video tools into your motion design workflow. Practical techniques and production tips.
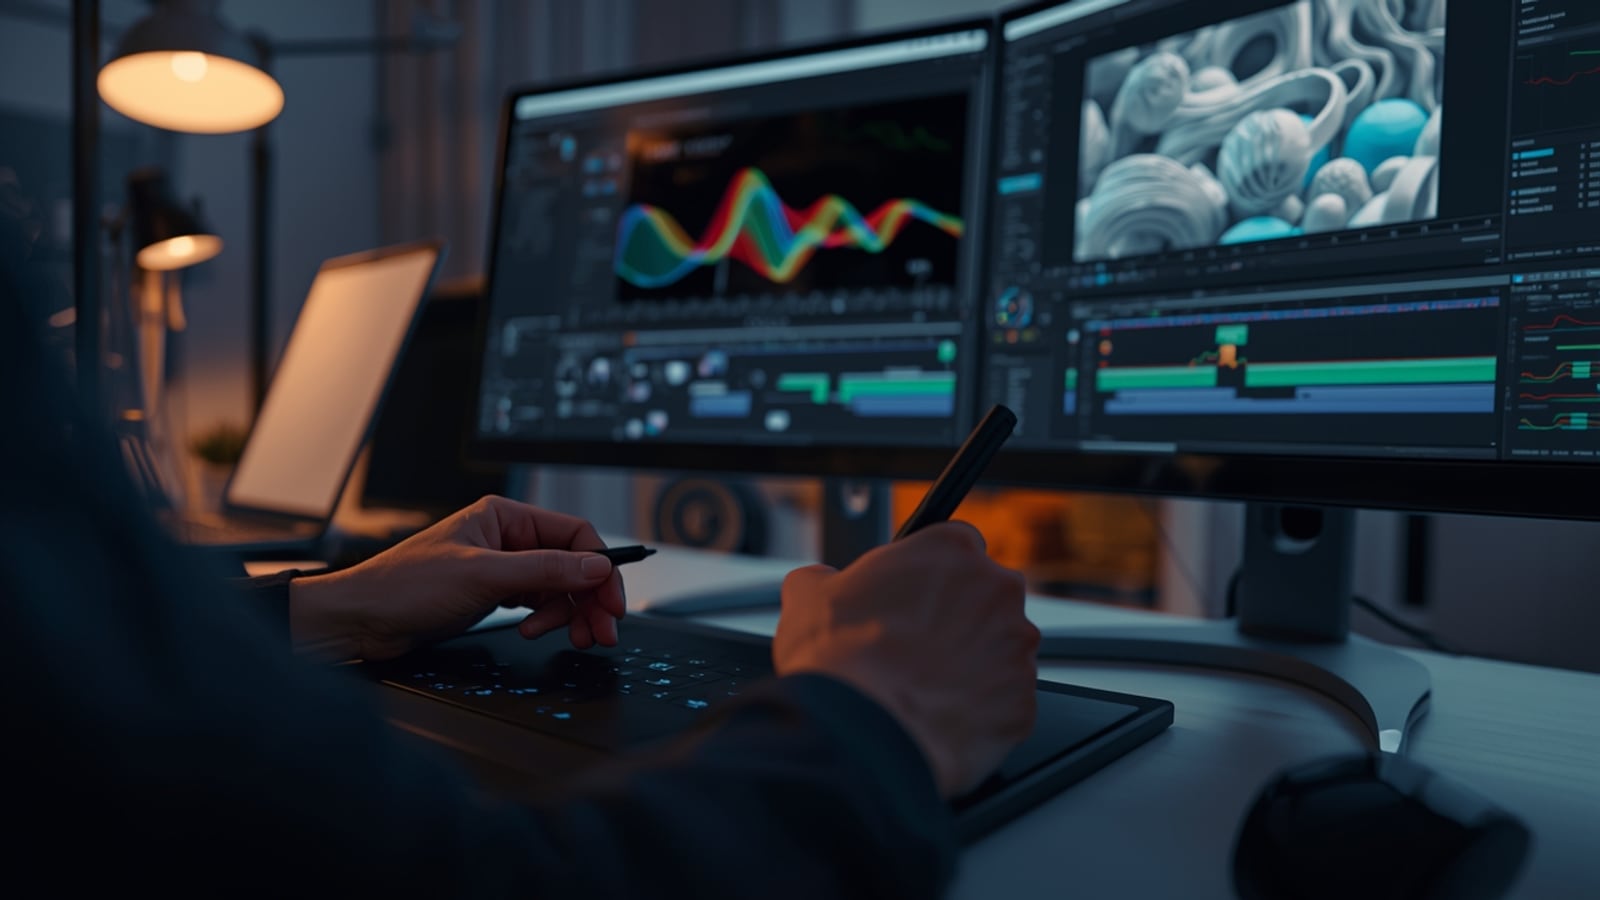
As an art director and motion designer working in the studio for over 11 years, I have experienced firsthand how artificial intelligence has upended video production workflows. The strange distortions, flickering textures, and uncontrolled morphs of early iterations have given way to powerful tools like Runway Gen-3 Alpha and Kling AI. These systems do not just generate random clips; when combined with a proper pipeline, they become serious accelerators in motion graphics projects.
If you treat these tools merely as text-to-video toys for casual entertainment, you will hit a wall on client projects. Resolution, frame rate, color consistency, and camera control are critical at the production desk. In this article, I will walk you through how I use runway gen 3 motion design and kling ai video animasyon (Kling AI video animation) tools in my daily routine, where I stumble, and how I manage these outputs inside After Effects step-by-step.
Core Approach: Transforming AI into Raw Assets, Not Final Cuts
The most common mistake we make as motion designers is dropping generated AI video straight into the final timeline. Instead, you should view these tools as producers of raw material or background textures to enrich your core project. In studio projects—especially dynamic product campaigns or abstract background requirements—I frequently rely on this methodology.
First, you must master cinematic terminology when prompting. Descriptions like "cinematic lighting, slow motion, 35mm lens, macro shot" guide the model's direction. However, remember that AI doesn't always calculate the physics of movement correctly. Human hands, fluid dynamics, and mechanical joints can still break down. That is why keeping camera movement slow and controlled is my primary rule. Choose gentle zooms or static angles over rapid panning shots, sparing yourself from tedious post-production stabilization.
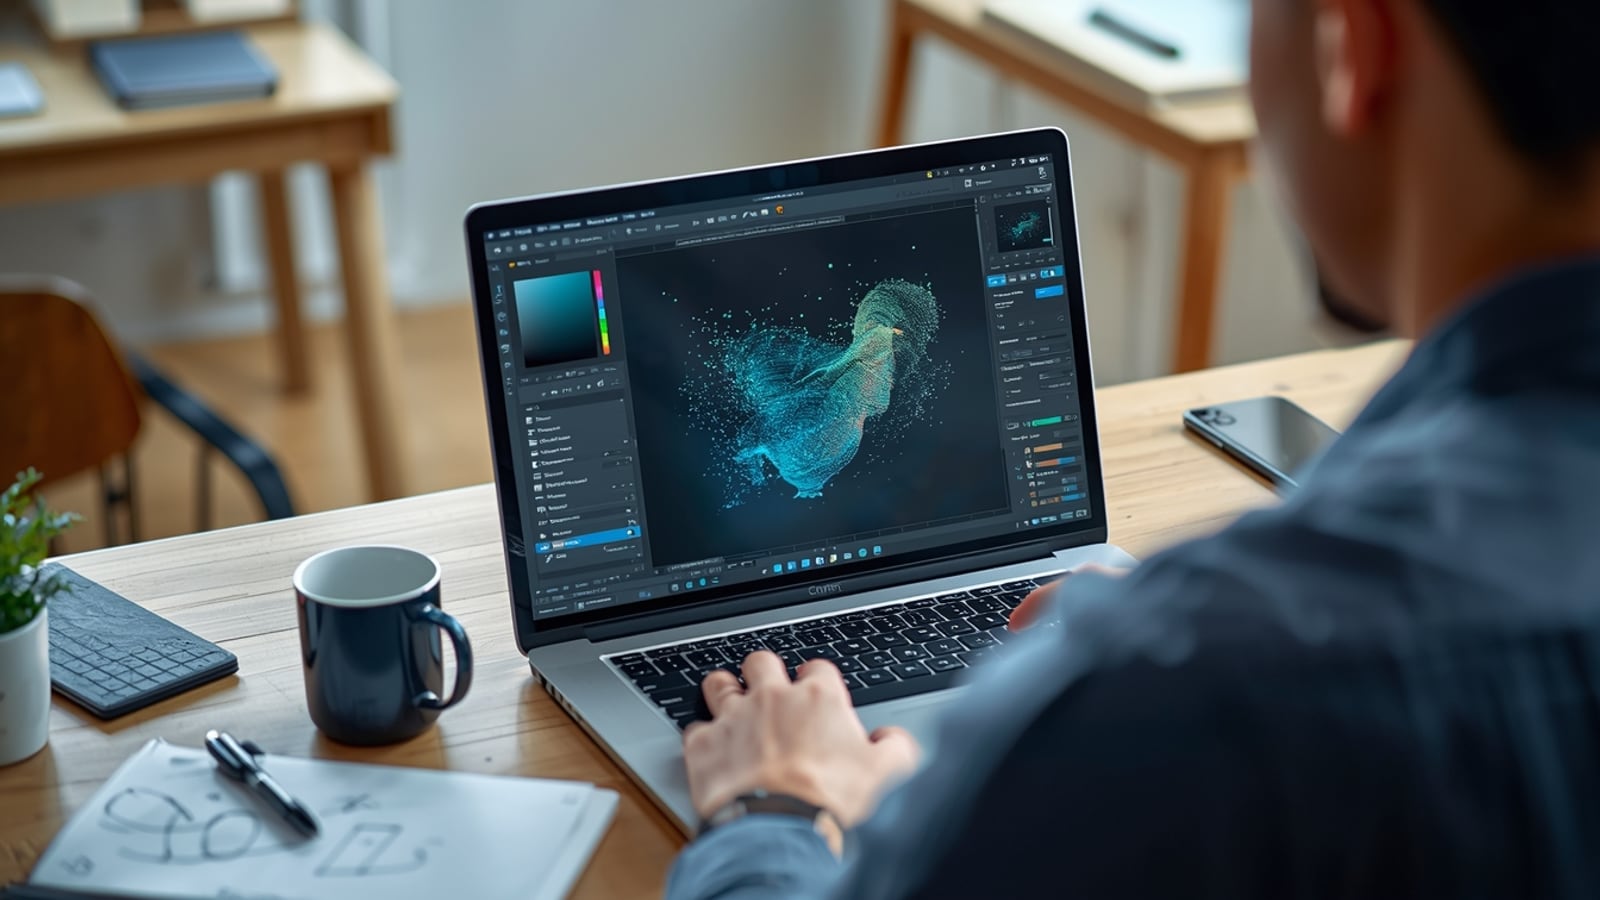
Interface details used while preparing generative AI assets in a motion design workflow.
Precise Control and Camera Movements with Runway Gen-3 Alpha
Runway's latest release, Gen-3 Alpha, takes a massive leap over its predecessors in guiding object movement and composition. When deploying this tool in my projects, I almost always start with an image reference (Image-to-Video). Rather than starting from scratch with pure text, I feed the model a foundational frame or product render built in Photoshop or Illustrator.
- Prepare your frame: Ensure the source image has clean contrast and clear composition.
- Upload to Runway and utilize the Motion Brush feature. This lets you manually select which element should move, such as a layer of drifting fog or flowing water.
- Keep camera control settings for zoom in/out or pan values very low to avoid erratic shifts.
The clip you get at this stage is never the final product. Pull it into your After Effects timeline, perform color grading, and smooth out frame transitions using optical flow or pixel motion blur if necessary. For abstract background forms, I've applied this technique to significantly slash render times on complex showreels.
Complex Physics and Fluid Dynamics with Kling AI
Kling AI excels at complex physics simulations and texture movements. If your project demands fabric ripples, smoke, dust, or interacting organic matter, Kling often delivers more convincing results than Runway, making it an indispensable part of any ai video prodüksiyon is akisi (AI video production workflow).
My biggest advantage when working with Kling is fine-tuning word weights inside the prompt. Yet, resolution bottlenecks still apply here. The tool's output typically arrives in standard HD or lower bitrates. Therefore, I never drop it straight into the main edit without passing it through external upscaler software first.
Blending AI Clips Inside After Effects
When merging raw AI video into your motion graphics composition, I follow a standard layering protocol to strip away that artificial plastic feel and ground the footage:
- Color Harmony: AI videos often arrive with over-saturated or conflicting palettes. Bring them into line with your scene's core tones using Lumetri Color or native After Effects grading tools.
- Grain and Texture: Applying a subtle film grain effect instantly kills the digital, overly smooth plastic look.
- Blend Modes: Utilize Screen, Overlay, or Soft Light blend modes depending on the scene's lighting to tie the AI background into your foreground typography or products.
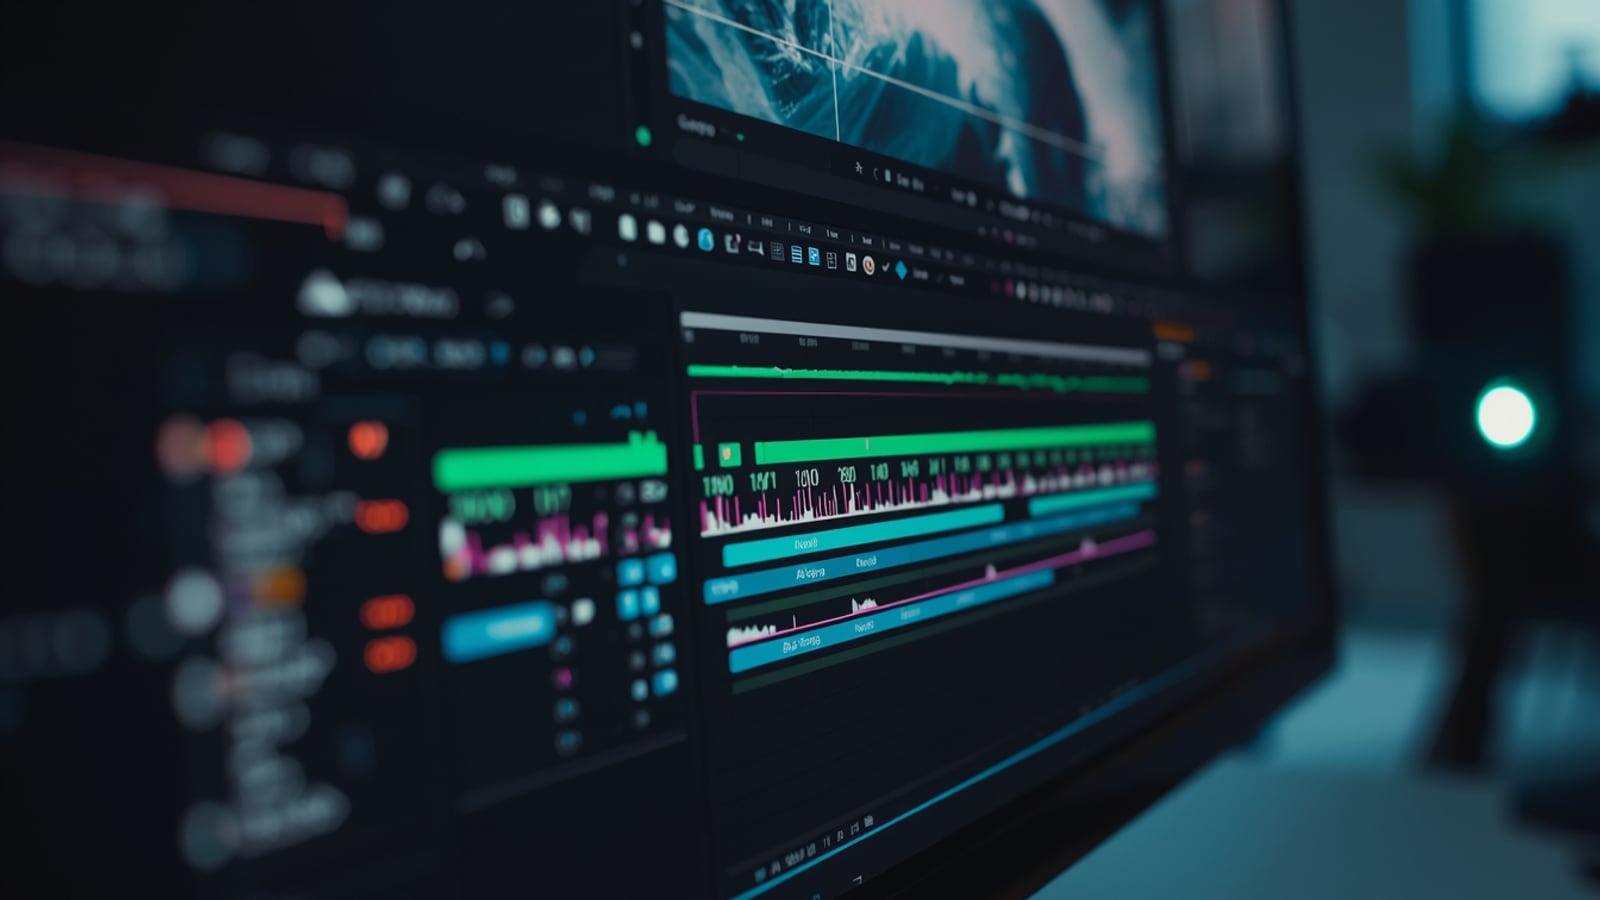
Blending and layering stage for AI video clips inside After Effects.
Common Mistakes and How to Avoid Them
The biggest trap is assuming AI will do everything flawlessly. AI video tools are not directors; they are simply very fast and capable assistants. You are still the one setting the composition, story, and aesthetic language. Don't hesitate to use masking or rotobrush to clean up glitchy frames.
If you run into bottlenecks or want to discuss how to build this pipeline for your own upcoming projects, feel free to reach out directly via my contact form. I'm always happy to share experiences and review fresh concepts.